
DIY Tile vs. Hiring a Contractor: An Honest Look at What's Actually Involved
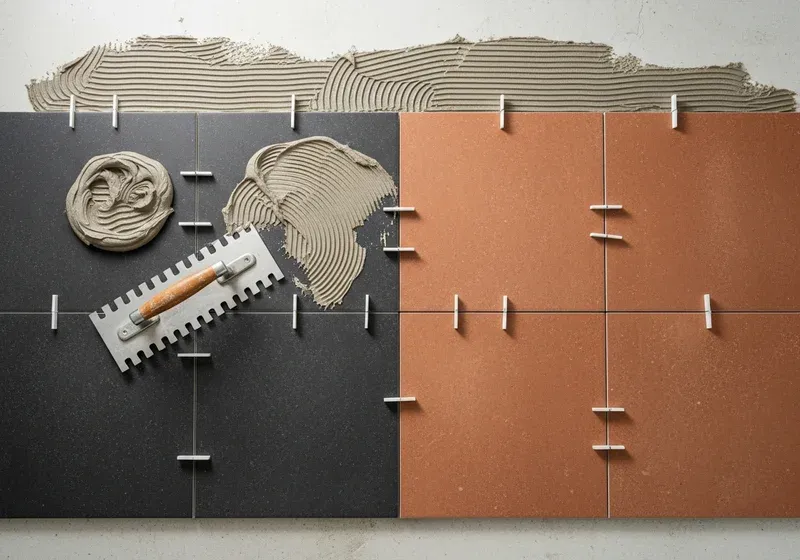
Small tile backsplash projects are genuinely accessible for a patient homeowner with the right tools. Large-format tile, vertical surfaces, complex patterns, and anything requiring substrate correction are where DIY tile most often fails — and where the cost of fixing a failed install exceeds what professional installation would have cost. Honest self-assessment of the project scope makes this decision straightforward.
What Tile Projects Can a Homeowner Realistically Do Themselves?
Small backsplash installations with standard-size tile, a simple grid or offset pattern, and a flat wall with minimal obstacles are the most DIY-accessible tile projects. If the surface is already flat and plumb, the tile is a manageable size, and there are no complex cuts around appliances or irregular shapes, an experienced DIYer with patience and proper tools can produce a good result. Replacing a few broken tiles in an existing floor — once the underlying cause of the cracking has been identified and addressed — is also achievable for a careful homeowner.
What Does DIY Tile Installation Actually Involve Beyond Setting Tile?
Setting tile is the visible part of the job and also the smallest part of the work. Before the first tile goes down, the substrate must be assessed for flatness, flex, and soundness. Concrete needs to be checked for cracks and moisture. Wood subfloors need to be evaluated for deflection. These assessments determine whether the substrate can accept tile as-is or needs correction first — and making that determination correctly takes experience. Layout planning comes next: finding center, dry-laying tile to evaluate the pattern and perimeter cuts, and ensuring cut tiles at the edges are not awkward slivers.
Why Does Large-Format Tile Require a Professional Installer?
Large-format tile — anything with a long dimension above roughly 15 inches — requires a flatter substrate than most homeowners can achieve without professional-grade leveling compounds and hands-on experience applying them. Lippage between large tiles (one tile sitting higher than the adjacent tile) is immediately visible and cannot be corrected after the adhesive cures. Getting large-format tile consistently flat across a floor or wall requires a systematic approach that takes real practice to develop — it is not a skill gap that a tutorial closes in a weekend.
What Happens If Tile Is Installed Incorrectly?
The most common outcome of a failed installation is cracking — grout joints, the tile faces, or both — within months. Loose or hollow-sounding tile means the bond has failed. Both problems almost always trace back to substrate issues: a floor that flexes, a surface that wasn't flat enough, or a substrate that wasn't properly prepared for the tile size and type. Fixing a failed installation means removing all the tile, correcting the substrate problem that was missed the first time, and reinstalling from scratch — which costs more than professional installation would have. This is the most expensive tile outcome we see.
How Do You Know If a Subfloor Is Ready for Tile?
Check for flatness and flex. Use a long straightedge across the floor in multiple directions — any gap beyond a small tolerance for the tile size being installed is a problem that needs to be corrected. Then walk the floor and feel for bounce or movement. A subfloor that deflects when you step on it will crack tile and grout over time regardless of how carefully the tile is set. If you find either flatness issues or flex, address them before tile goes down — not after. For projects where the substrate condition is uncertain, a free estimate from a tile contractor costs nothing and can prevent a costly mistake.
Frequently Asked Questions
What tile projects are realistic for a homeowner to DIY?
Small backsplash projects with standard-size tile, simple patterns, and flat walls with minimal cuts are the most DIY-accessible tile work. Projects involving large-format tile, vertical surfaces, complex patterns, or substrate correction benefit significantly from professional installation — the margin for error is smaller and the consequences of mistakes are more expensive to fix.
Why is large-format tile harder to install yourself?
Large-format tile requires a flatter, more carefully prepared substrate than smaller tile. Any unevenness causes visible lippage between tiles that cannot be fixed after the adhesive cures. Achieving the consistent flatness large-format tile demands is a skill developed through practice — not something most homeowners can replicate from a tutorial.
What tools do you need to install tile yourself?
At minimum: a tile wet saw, notched trowel sized for your tile, level, tile spacers, rubber mallet, bucket and mixing paddle, and grout float. For large-format tile, add a long level and self-leveling compound. Renting quality tools rather than buying the cheapest available makes a significant difference in the finished result.
How much does it cost to fix a failed tile installation?
More than the original professional installation would have cost. Removing failed tile, correcting the substrate problem that caused the failure, and reinstalling is a complete tear-out-and-redo job. This is the most expensive tile outcome we encounter, and it's the most common result when homeowners call us to repair a DIY project that cracked or lifted within its first year.
Need Professional Help?
If you've identified masonry issues or need a professional inspection, we're here to help. Adam Baker Masonry serves Grand Rapids and the surrounding 50-mile area.
Related Articles
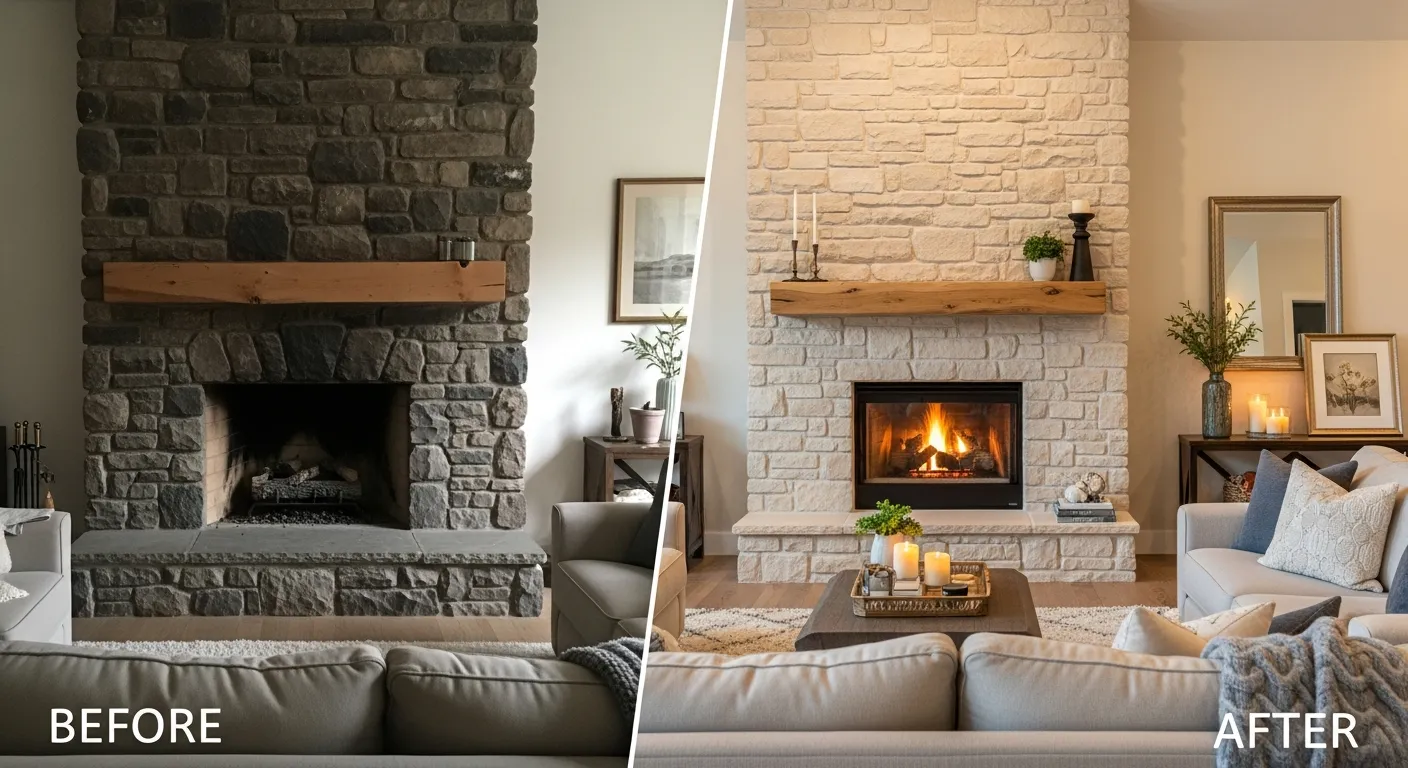
Fireplace Remodel in Michigan: Options and What to Expect
From a simple mantel update to a full stone surround transformation, here is what goes into a fireplace remodel in West Michigan.
Fireplace Resurfacing: Materials, Process, and What to Expect
Thinking about resurfacing your fireplace? Here is a straightforward look at the material options and process for West Michigan homeowners.

Indoor Stone Veneer Accent Wall Ideas for Michigan Homes
Looking for stone accent wall inspiration? Explore design ideas for every room in your home, from rustic farmhouse to sleek modern styles popular across West Michigan.
Tile Contractor Services Across West Michigan
Adam Baker Masonry serves homeowners throughout the Grand Rapids area and West Michigan. Select your city for local tile installation details.